
Packaging Inspection Equipment: Match the Inspection Job
Match checkweighers, metal detectors, X-ray, vision and leak tests to packaging defects, then plan inspection positions, samples and rejection evidence.
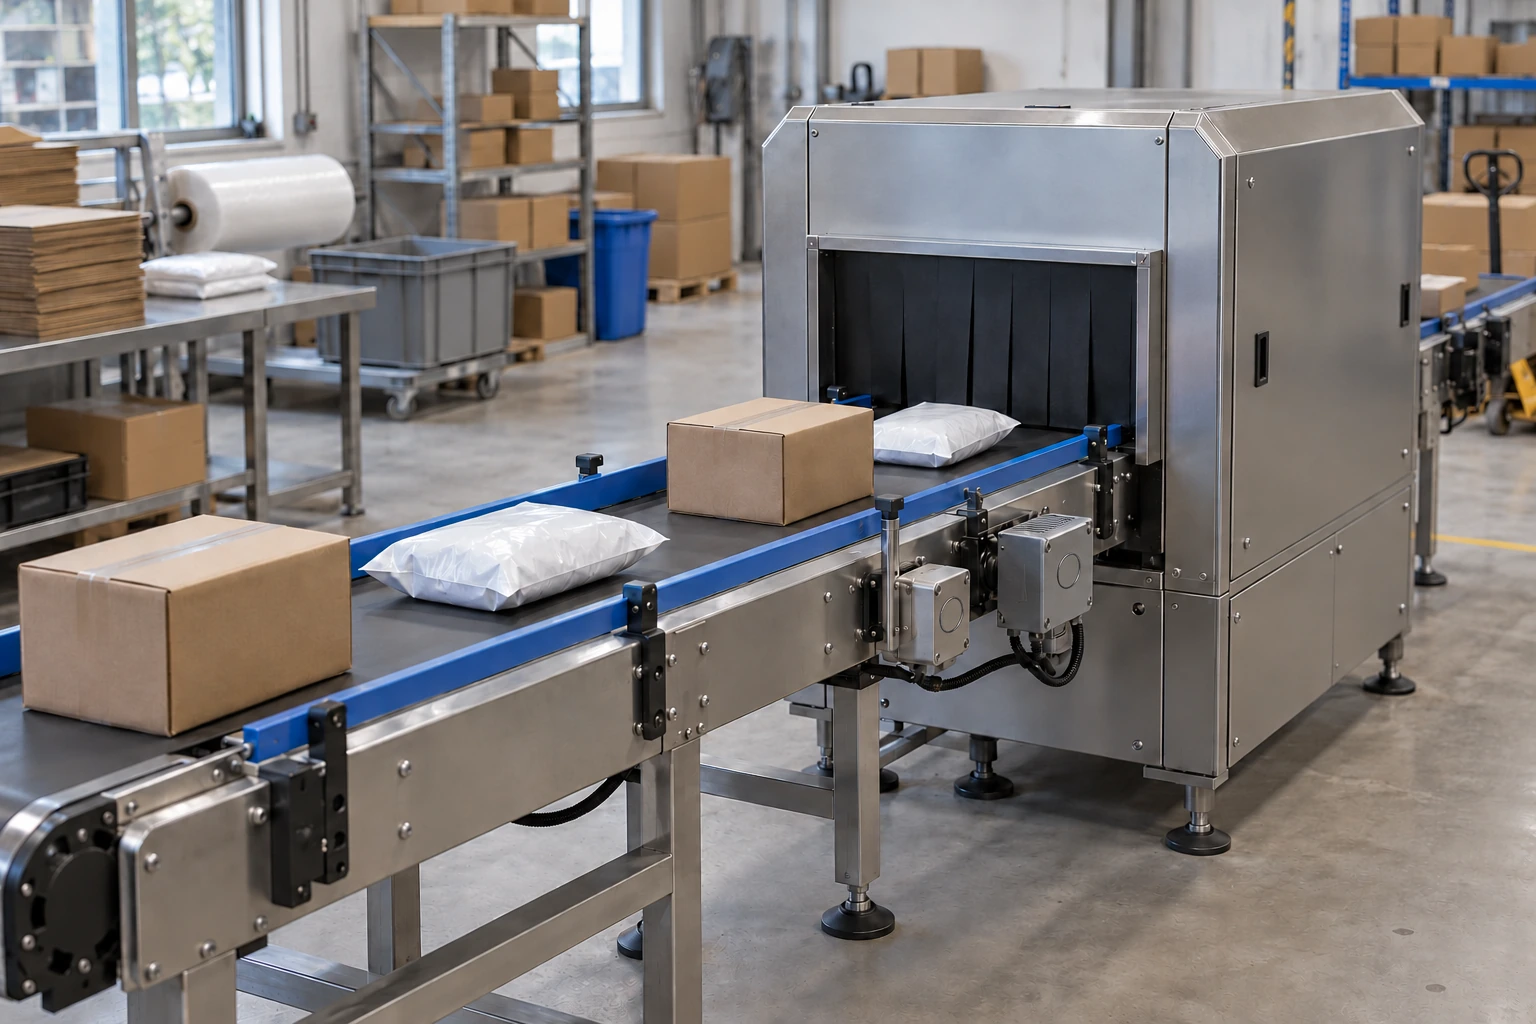
Buying inspection equipment for the wrong defect leaves that defect unchecked. Match weight errors to checkweighing, metal contamination to metal detection, suitable internal anomalies to X-ray, visible features to vision, and leakage to a compatible integrity test; verify each proposed system with your product, packaging and line conditions.
Applies to: An equipment overview for production, quality and purchasing teams specifying packaged-goods inspection. Excludes supplier rankings, universal sensitivity settings, transport testing procedures and regulatory acceptance limits.
An inspection station aimed at the wrong defect can leave a faulty pack unchecked. Choose the measurement for the defect first, then compare packaging inspection systems against the same product, pack and rejection task.
For an existing or proposed packaging line, start with the defect you need to distinguish from an acceptable pack. This overview helps production, quality and purchasing teams shortlist equipment families, choose a check location and prepare a representative trial. Use the actual product, packaging and operating conditions to establish acceptance criteria, with the materials and inspection guides for each detailed task.
Match the defect before choosing a machine
Write the defect in observable terms before naming a technology. “Inspect quality” is too broad to test; “reject a pack carrying the wrong label” identifies a task you can demonstrate. Keep the weight, contamination, appearance and leakage questions separate even when a supplier offers them in one enclosure.
Quick specs: inputs to establish
Scroll horizontally if needed to see all columns →
| Input or item | Value or source | Why it matters |
|---|---|---|
| Target defect | Quality plan and representative defect samples | Defines what the inspection must distinguish |
| Product and packaging | Actual filled packs and material specifications | Determines whether the inspection principle is suitable |
| Pack presentation | Drawing, orientation and measured spacing | Defines what reaches the inspection point |
| Line operating conditions | Required output, speed range and transfer arrangement | Defines the conditions for the demonstration |
| Reject and release decisions | Approved site procedure and equipment proposal | Defines removal, confirmation, records and disposition |
Use the following table as a candidate map, rather than a claim that any machine will meet your target. “Candidate” means the supplier still needs to show the proposed configuration performing the defined job.
Scroll horizontally if needed to see all columns →
| Inspection question | Equipment family to evaluate | What that check does not establish |
|---|---|---|
| Is package weight within the assigned limits? | In-line checkweigher | Whether the pack contains metal or has a leak |
| Is there detectable metal contamination? | Metal detector suited to product and packaging | Non-metal contamination or correct package weight |
| Is there an internal anomaly with sufficient X-ray contrast? | X-ray inspection system | Detection of every foreign material or proof of a leak-free package |
| Is the visible label, code or closure feature correct? | Camera-based vision inspection | The integrity of a hidden seal or the contents behind opaque packaging |
| Does the closed package leak under the selected test conditions? | Compatible package-integrity or leak-test system | Seal separation force, sterility or shelf life by itself |
For a project considering both quantity and contamination controls, the checkweigher versus metal detector comparison covers that particular decision in more detail. Do not extend a successful weight demonstration into a contamination claim.
Takeaway: Assign a separate inspection question and acceptance record to each defect you need to control.
Which inspection technologies match the job?
The equipment families differ in the signal they measure. That difference explains both their useful applications and the evidence they cannot provide.
Checkweighing: package weight
A dynamic checkweigher measures a package while it travels over a weighing conveyor and compares the result with the configured limits. The Thompson Scale equipment manual describes weighing, controller outputs and reject operation as distinct functions. OIML R 51 provides the reference terminology for automatic catchweighing instruments.
Include actual product, packaging and tare information in the evaluation. If the aim is net-content control, ask how the proposed system handles the relationship between gross measurement and the quantity being controlled. A correct gross weight is not, on its own, proof that every internal component is present.
Avoid assuming that the filler and checkweigher serve the same role. The dosing step creates the fill; the downstream measurement checks the resulting package. The auger filler and multihead weigher guide explains the filling-side decision.
Metal detection: a response to metal
Metal detection uses an electromagnetic response to identify detectable metal. The supplier’s industrial metal detection guidance explains that conductive products and some packaging can affect that response. Present the actual filled pack for evaluation, including relevant moisture, temperature or packaging variations.
Describe the target contaminant material and the conditions of the challenge rather than asking whether the detector “finds contamination.” A metal detector is not a general test for glass, stones, incorrect labels or leaks. If metallic packaging is involved, ask which detector approach is proposed and what its demonstrated limits are with that pack.
X-ray inspection: internal image contrast
Mettler-Toledo’s X-ray Inspection Guidance is a supplier technical source. It describes an image formed from differences in X-ray absorption: material composition, density and thickness influence the signal. Metal, glass or stone may provide detectable contrast; many low-density plastics or organic materials can remain difficult to distinguish.
Evaluate the actual contaminant, pack depth and product presentation. Thin metallic packaging can make X-ray worth evaluating, but it does not establish the performance of a particular system on your product.
The same supplier’s guidance also describes component counting and image-based mass estimation as additional functions. Ask for each function to be demonstrated separately. An estimated mass is a different measurement from a checkweigher’s weighing result, and an image-based seal check is not automatically a leakage test.
Machine vision: features the camera can see
Vision compares visible features with a defined expectation. For example, JLI’s label-inspection technical page describes checks of label location, orientation, variable text and barcode fields. Those are examples of configured tasks, rather than capabilities to assume on every camera installation.

Separate a visible closure-position check from the question of whether the closed package leaks. Identify the surface and feature the proposed view will inspect. Use the machine vision packaging guide to develop the lighting, presentation and defect-sample evaluation.
Package integrity: leakage under a selected method
Leak testing evaluates an escape path under specified test conditions. ASTM F2338 describes vacuum-decay detection through pressure changes in a chamber containing the package. Package construction and contents affect method suitability; a method for one product-package system is not a ready-made procedure for another.
Seal strength is a separate objective. ASTM F88/F88M addresses the force to separate a seal specimen, whereas a leakage test examines the closed package’s ability to contain its contents under the chosen conditions. Neither result can simply stand in for the other.
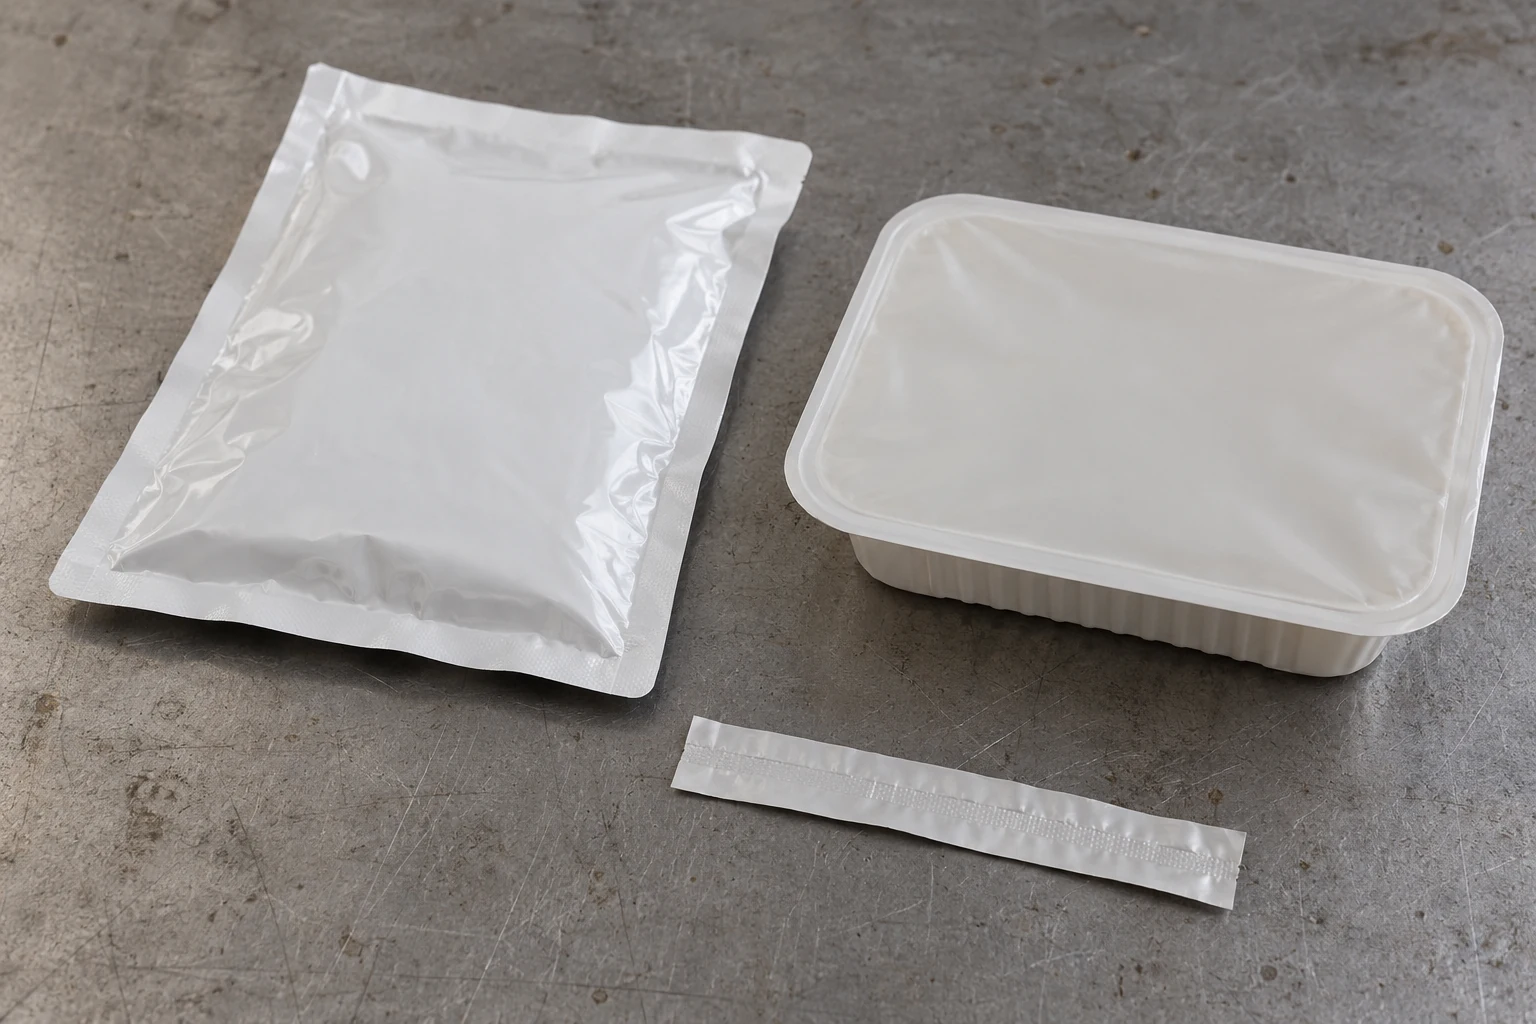
For sterile pharmaceutical packaging, USP <1207> addresses integrity assurance for nonporous packages and distinguishes leak methodologies from seal-quality tests. That scope should not be presented as a universal food-packaging requirement. For an existing failed-seal problem, use the seal defect investigation guide rather than purchasing a tester before defining the failure.
Takeaway: Choose the measurement that can reveal the defect, then confirm its limitations with representative samples.
Where should inspection sit on the line?
Choose a position where the relevant feature exists and can be measured, then review what happens afterward. There is no single sequence of cameras, scales, contamination detectors and leak testers that suits every line.
The locations below are planning options. Use them to ask whether a proposed position checks the finished feature or only an earlier stage.
Scroll horizontally if needed to see all columns →
| Process point | Inspection job to consider | Question to resolve before fixing the position |
|---|---|---|
| Product flow before filling | Contamination control suited to the bulk or pumped product | What contamination could enter after this check? |
| After filling and package formation | Weight verification or suitable internal inspection | Is the package stable and separated for the proposed measurement? |
| After label or code application | Visible print, label and code checks | Can the target feature be viewed before another component obscures it? |
| After the closure is completed | Visible closure checks and, where suitable, integrity testing | Does the method examine the closed package, and how are results tied to it? |
| Before cartoning or case packing | Final checks that need access to individual packs | What becomes inaccessible once the packs enter the secondary package? |
Ask the equipment and line suppliers to explain transfers, pack orientation and the relationship between the inspection point and reject point. Record any process step after inspection that could change the inspected feature. The packaging-line integration checklist gives the corresponding interface questions.
Where a check is performed off-line on sampled packs, describe it that way. Do not call a sampled package-integrity program an in-line inspection of every pack. The method, sampling plan and link to production lots need to be agreed by the site’s quality team.
Takeaway: Place the check around the creation and accessibility of the feature, then review the risks remaining downstream.
Detection, tracking and rejection are separate checks
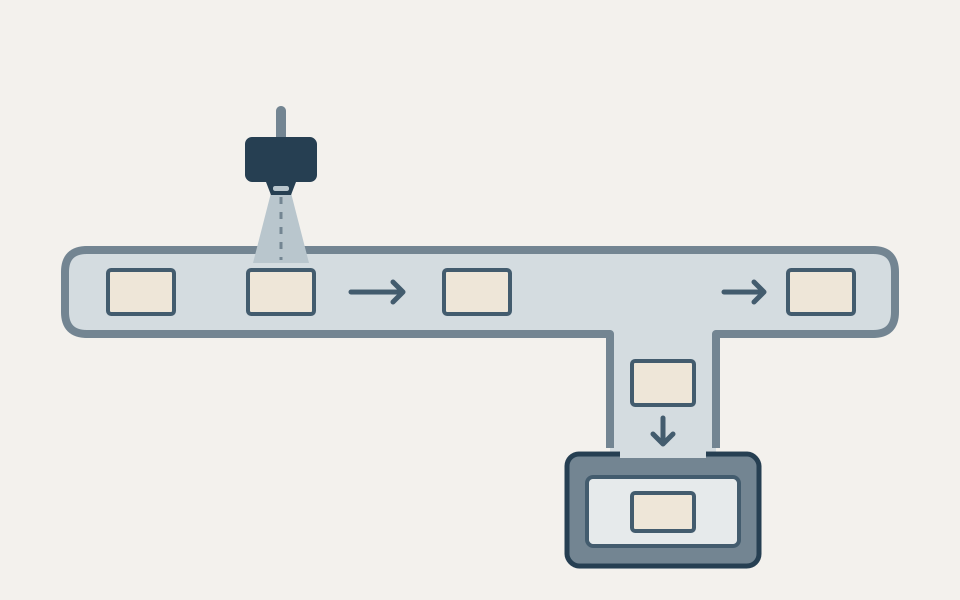
A detection signal does not prove the intended pack left the conveyor. Specify how the system associates the decision with that pack, actuates the reject device and confirms the actual result. Those steps deserve separate entries in the acceptance record.
Scroll horizontally if needed to see all columns →
| Stage | Evidence to record | Example of a problem the record should distinguish |
|---|---|---|
| Inspect | Measurement or decision for the challenge pack | The defect did not trigger the expected decision |
| Track | Association between that decision and that pack | A neighboring pack received the reject action |
| Remove | Observed reject action and confirmation result | A reject command occurred but the pack continued downstream |
| Contain | Location and access control for affected packs | The pack was removed but could return to normal production |
| Decide disposition | Authorized investigation and release or disposal record | A rejected pack was treated as acceptable without review |
This is a suggested record structure, not a mandated test procedure. Agree any fault demonstrations with the site’s responsible staff and equipment supplier; use the approved acceptance procedure with guards and interlocks functioning.
Common mistake: Treating a rising reject counter as proof of physical removal. Record the detection and removal outcomes separately, including what happens when a pack cannot be confirmed as rejected.
Define how records identify the recipe, lot, time and reject reason. Ask what can be exported and how a failed check affects product disposition. The preventive maintenance checklist helps organize recurring inspection-equipment checks; the equipment manual and quality procedure determine their methods and intervals.
Takeaway: Accept the inspection-to-disposition path as well as the sensing device.
What to prepare for an inspection trial
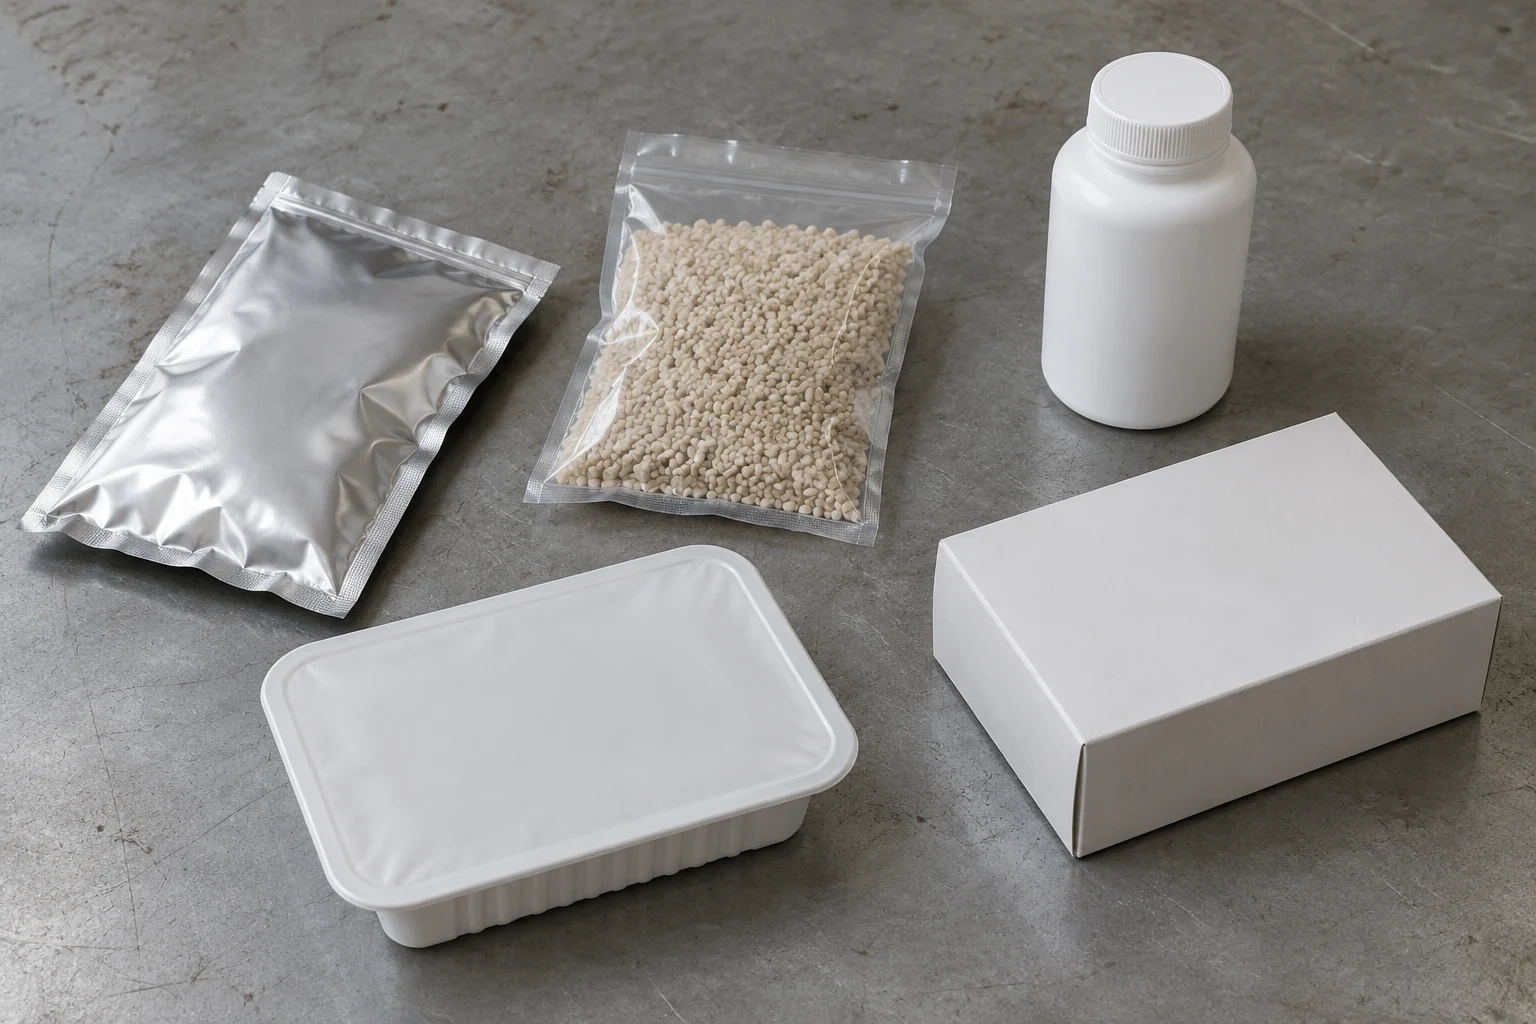
Bring samples that represent the product-package system and the defect being evaluated. A supplier demonstration with a convenient substitute may help explain operation, but it does not establish performance with your pack.
Scroll horizontally if needed to see all columns →
| Prepare | Include in the record | What it lets the project team assess |
|---|---|---|
| Normal production packs | Product identity, material, dimensions, tare information and relevant variation | Whether acceptable packs are consistently classified as acceptable |
| Challenge samples | Known defect, preparation method, identification and handling restrictions | Whether the intended defect is found under the stated conditions |
| Production conditions | Speed range, spacing, orientation, transfers and relevant environment | Whether the demonstration represents the planned installation |
| Expected decisions | Acceptance criteria, reject action and response to failed checks | Whether the observed outcome meets the agreed inspection task |
| Required records | Lot and recipe identifiers, reasons, timestamps and export format | Whether the result can be traced to the production being evaluated |
For contamination tests, agree appropriate identified test pieces and their handling with the supplier and quality team. For integrity tests, agree suitable intact and defective controls for the package and method. For vision, include examples that differ in the particular feature the camera is intended to judge. Do not invent a universal sample count or challenge size.
Where a film or format is changing, include the material specification and representative finished packs. The film and machine compatibility guide covers the material variables to clarify before running a trial.
Takeaway: Use actual pack variants and identified defects, with agreed criteria and recorded conditions.
Write acceptance evidence for each inspection job
Turn the task map into a record before the demonstration. Keep the expected result, observed inspection decision and actual reject outcome separate. The following fields can be copied into the project’s existing acceptance documentation; they are not a downloadable form or a standard sampling plan.
Scroll horizontally if needed to see all columns →
| Record field | Entry to complete |
|---|---|
| Inspection job and target defect | ________ |
| Product, packaging, recipe and sample identity | ________ |
| Technology and proposed configuration | ________ |
| Operating conditions and inspection position | ________ |
| Expected result and agreed acceptance criteria | ________ |
| Actual measurement or inspection decision | ________ |
| Actual reject and confirmation outcome | ________ |
| Exported record or retained evidence | ________ |
| Deviations, corrective action and repeat evaluation | ________ |
| Responsible review and disposition | ________ |
Use normal samples to examine acceptable-pack handling, and challenge samples to examine the defined defect. If either outcome fails, keep the discrepancy visible in the record rather than changing the target simply to obtain a pass. The quality owner decides how the result affects release and what corrective action is appropriate.
The FAT and SAT guide helps separate the supplier demonstration from verification on the installed line. Carry the same inspection job and pack identities into both stages, while recording any difference in conditions.
Common mistake: Comparing offers that use different inspection targets or demonstration conditions. Ask each supplier to answer the same defect, packaging, operating-condition and evidence questions before comparing scope.
Put these fields into the packaging-machine RFQ checklist and retain the supplier’s qualifications alongside its proposal. For the commercial comparison, use packaging-machine total cost to identify installation, integration and support items without assuming a universal purchase price.
Takeaway: Compare the same inspection task and retain evidence of both acceptable-pack handling and defect rejection.
When this does not apply
This guide does not choose regulatory limits, identify a food-safety critical control point, prescribe pharmaceutical validation or set a test frequency. It helps structure an equipment evaluation; qualified site staff need to determine the applicable quality and regulatory requirements.
The task map is also insufficient for transport-package qualification, third-party shipment inspection or laboratory method development. Do not treat a line-inspection result as proof of transport durability, sterility or shelf life.
Package-integrity methods can involve different fixtures, sample handling and operating arrangements. Confirm whether the proposed solution is actually in-line, at-line or off-line, and which packs it assesses. An enclosure advertised as a combined inspection system still needs evidence for each claimed function.
Takeaway: Use the overview to define the project questions, then obtain the method-specific and site-specific evaluation.
FAQ
What is Ccit testing?
CCIT means container closure integrity testing. It evaluates the integrity of the product’s container-closure system using an appropriate method. It is different from simply confirming that a lid is visibly present or measuring a seal strip’s separation force.
What is the USP standard for container closure integrity testing?
USP <1207>, Package Integrity Evaluation—Sterile Products, provides guidance for nonporous packages intended for sterile pharmaceutical products. Its related chapters cover method selection and validation, leak technologies and seal-quality tests. That scope is not a universal requirement for food packages.
How to perform container closure integrity testing?
Begin by defining the product-package system, integrity objective and suitable method with the responsible quality and laboratory personnel. Establish applicable controls and acceptance criteria through method development and validation. Follow the selected method and equipment procedure; this overview does not supply pressures, durations or leakage limits.
How do I calibrate my checkweigher?
Follow the procedure for the actual instrument, with the specified reference equipment and authorized personnel. Calibration and a routine operating check serve different purposes; establish both through the equipment documentation and site procedure. Record the result and any subsequent verification under operating conditions rather than copying another machine’s settings.
What is the price of a checkweigher machine?
A useful quote needs the product and pack range, line interfaces, reject arrangement, environmental needs, data requirements and acceptance scope. Ask what is included in installation and support. Compare that scope before comparing prices; this guide does not provide a verified market price range.
What are the different types of packaging testing?
Packaging testing can concern material properties, seal strength, leakage or distribution performance. Those objectives differ from an in-line weight, contamination or label check. Define the failure you need to evaluate, then select a suitable method rather than treating all “packaging tests” as interchangeable.
Takeaway: Use a method-specific procedure for calibration and integrity testing, and a defined scope for price comparisons.
Method and sources
This is an editorial selection overview based on public documents reviewed on October 9, 2026. It contains no inspection results from this publication. The task, placement and acceptance tables are suggested ways to organize a project, rather than prescribed machine sequences or standard requirements.
The X-ray principles come from Mettler-Toledo’s supplier technical guidance, particularly its sections on absorption and packaging. Manufacturer descriptions of metal detection and label inspection are also configuration examples, not supplier recommendations or performance guarantees.
For integrity testing, the public ASTM F2338 method description, ASTM F88/F88M scope and USP <1207> introduction establish the distinctions used here. Public scope information does not replace the complete applicable method or a product-specific evaluation.
Takeaway: Read supplier capabilities as proposals to verify, and method scopes as boundaries to respect.
Related guides
- Checkweighers versus metal detectors — Work through the quantity and metal-contamination decision in more detail.
- Machine vision for packaging inspection — Prepare visible-defect samples and evaluate presentation and lighting.
- Evaluating equipment suppliers — Compare the proposed inspection evidence, responsibilities and support alongside the equipment offer.
Takeaway: Carry the defect-to-equipment decision into the relevant detailed guide and the project’s acceptance record.
References
- Thompson Scale Company, Model 4693 Heavy-Duty In-Motion Checkweigher Manual, Ver. 15.3 — Thompson Scale Company
- OIML R 51-1:2006 and R 51-2:2006 — Automatic catchweighing instruments (Part 1 and Part 2) — OIML
- The Complete Guide to Industrial Metal Detection — Mettler-Toledo
- X-ray Inspection Guidance: Building an Effective Program — Mettler-Toledo
- Machine Vision for Label Inspection — JLI vision
- ASTM F2338-24 — Standard Test Method for Nondestructive Detection of Leaks in Packages by Vacuum Decay Method — ASTM International
- ASTM F88/F88M-23 — Standard Test Method for Seal Strength of Flexible Barrier Materials — ASTM International
- USP <1207> — Package Integrity Evaluation—Sterile Products — United States Pharmacopeia
Update history
- : First published.
Next steps

Checkweighers vs. Metal Detectors: Different Inspection Jobs
A checkweigher verifies package weight and a metal detector controls metal contamination. See why one cannot replace the other and how to plan rejects and records.
Read guide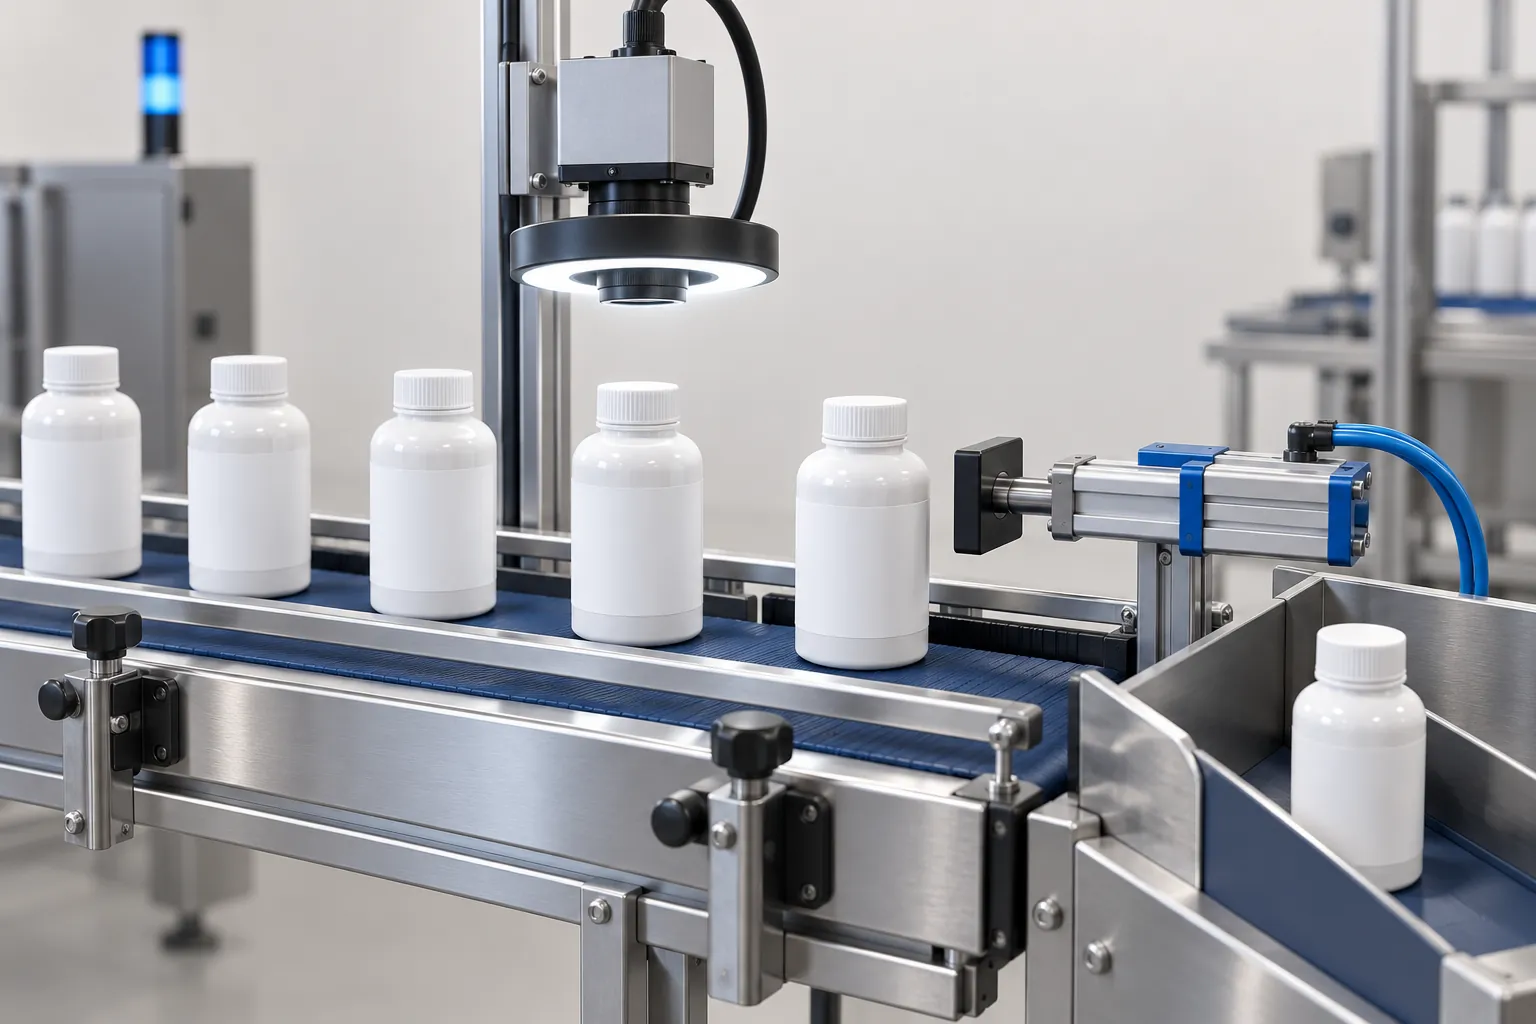
Machine Vision for Packaging: Inspection Tasks and Limits
What machine vision can check on a packaging line, what each task needs in samples, lighting and rejects, and where it cannot replace other tests.
Read guide
Packaging Seal Defects: An Evidence-Based Investigation Checklist
Investigate packaging seal defects by containing suspect product, collecting evidence, testing with agreed methods and changing one variable at a time.
Read guide
FAT vs. SAT for Packaging Equipment: Defining Acceptance Criteria
Compare factory and site acceptance tests for packaging machines, and learn how to write acceptance criteria that both buyer and supplier can verify.
Read guide