
Packaging Seal Defects: An Evidence-Based Investigation Checklist
Investigate packaging seal defects by containing suspect product, collecting evidence, testing with agreed methods and changing one variable at a time.
Investigate a seal defect by containing suspect product first, collecting evidence before changing anything, testing with methods agreed in advance, listing candidate causes under Material, Machine, Product and Method, and then changing one variable at a time while recording the result. Settings that work for one film and machine cannot be copied from a general source.
Applies to: Covers heat-sealed flexible packaging on form-fill-seal and flow-wrapping machines. Does not give sealing temperatures, times or pressures, and does not replace the machine manual, the film supplier's data or a site quality procedure.
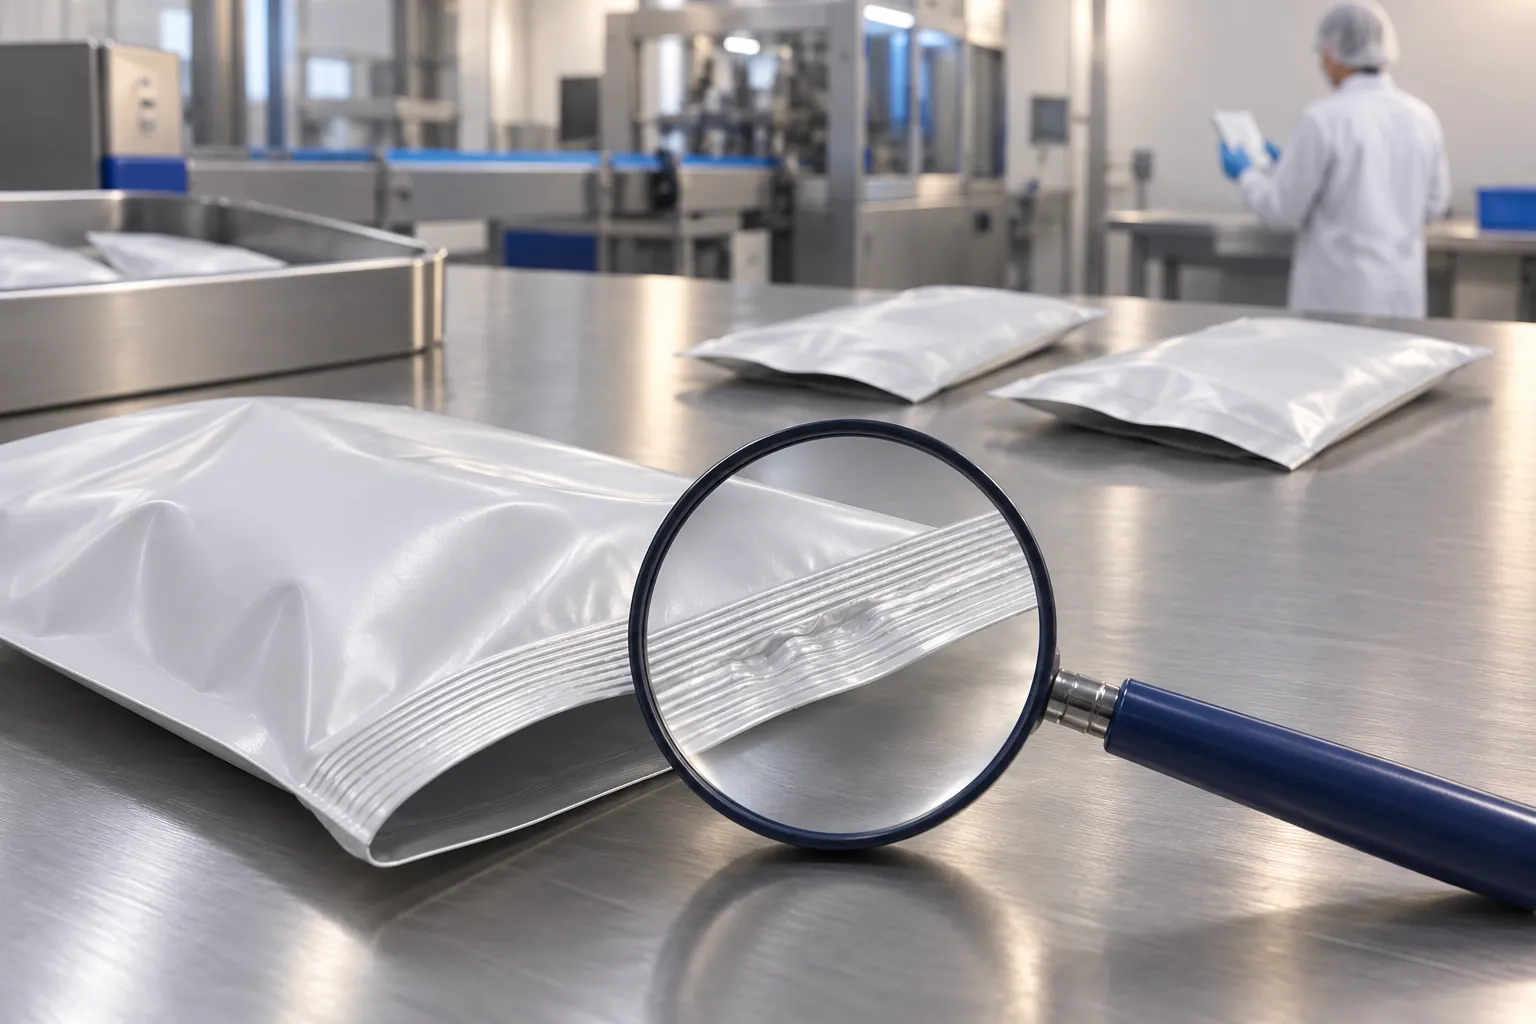
Changing settings before collecting evidence can hide a seal fault and lose the information needed to investigate it. Start by containing suspect product, then follow the six steps and retain the verification and release decision.
Contain → collect evidence → test → list causes → change and verify → record and close.
Copy or print the evidence record for your quality system. The film, machine and approved procedure set the sealing temperatures, times and pressures.
Common seal defect types
When evaluating a proposed coffee pouch, the SunDance valve-pouch line review identifies package and seal-area documents to preserve with trial observations.
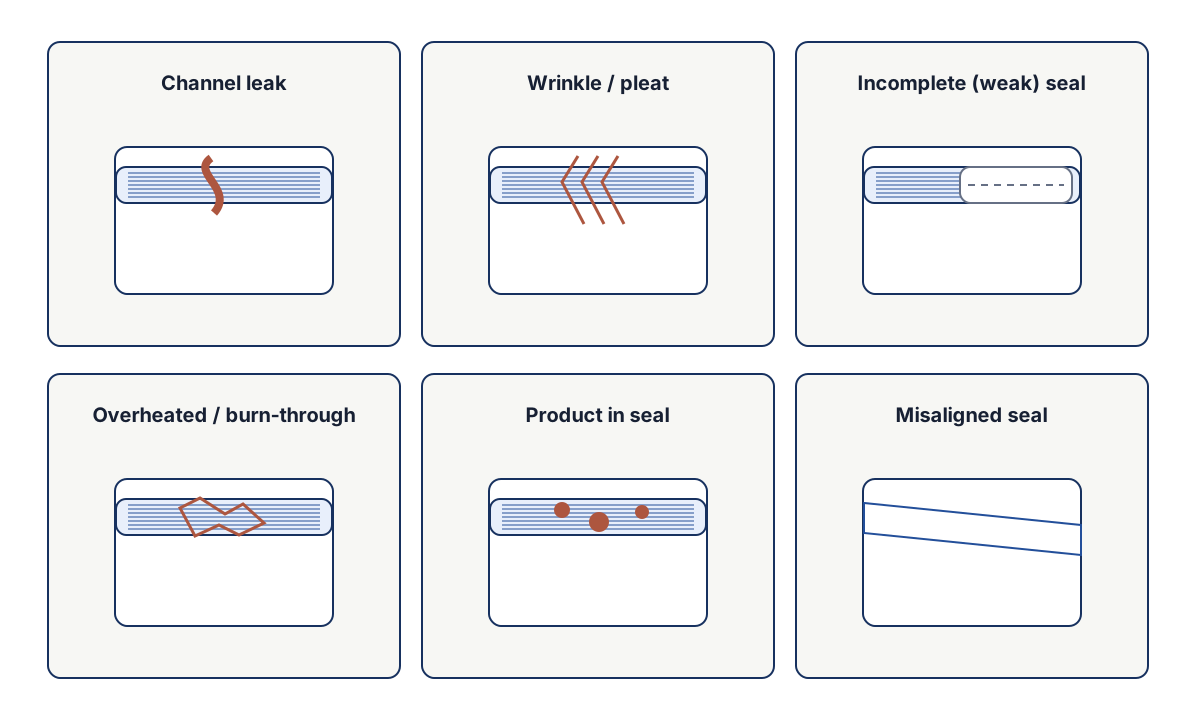
Figure 1 shows six defect types widely used to describe heat seal problems. Names differ between plants and suppliers, so agree on terms and pictures with your own team and film supplier.
Swipe sideways to see the other columns. The first column stays visible.
| Defect type | What you see | Why it matters |
|---|---|---|
| Channel leak | A narrow open path through the seal, often at a fold, a gusset or a wrinkle | Product can leak and air or moisture can enter |
| Wrinkle / pleat | Folds in the film pressed into the seal | Can create a channel or a weak area |
| Incomplete (weak) seal | Seal surface not fully fused, or fused but easy to peel apart | The pack may open in handling or distribution |
| Overheated / burn-through | Distorted, thinned, discolored or holed film at the seal | Seal may be brittle or perforated |
| Product in seal | Powder, grease, liquid or pieces trapped between the sealing layers | Prevents fusion at that spot |
| Misaligned seal | Seal sits off position, over print or crosses a fin or a gusset unevenly | Seal area is reduced or the print is damaged |
The same visible defect can have several causes, so a defect name is a description, not a diagnosis.
The investigation process
Figure 2 shows the sequence. Each step protects the evidence for the next, so keep the order.
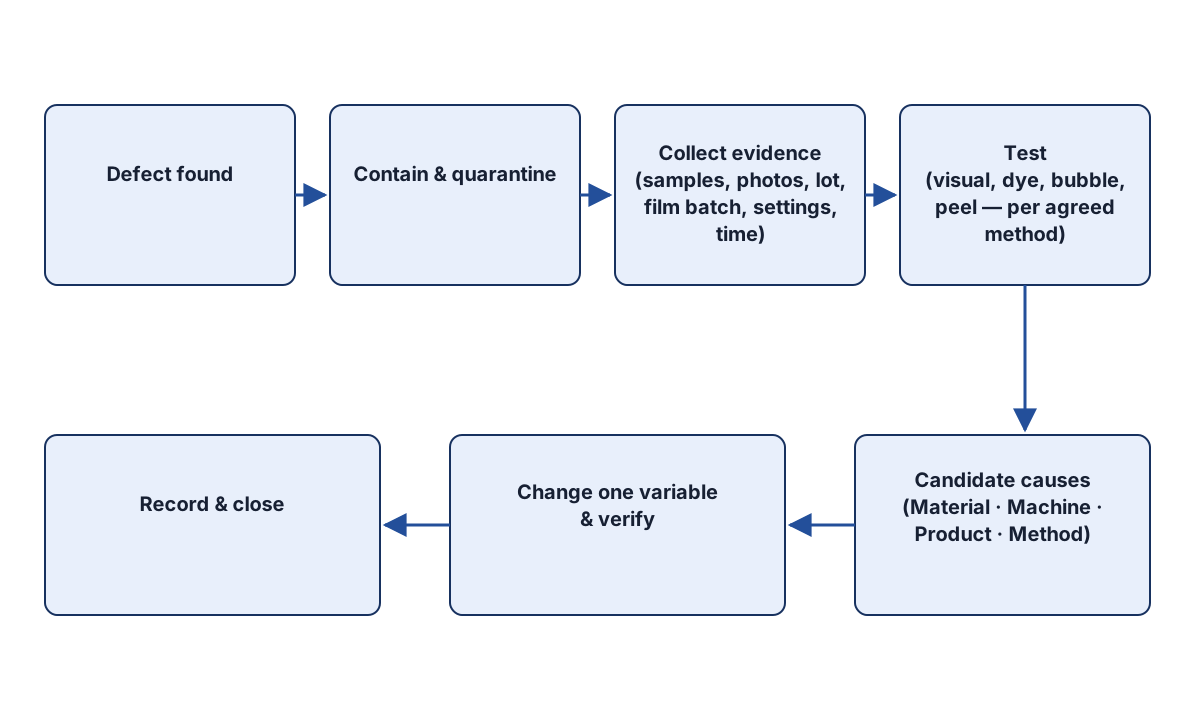
1. Defect found, then contain and quarantine
Stop passing suspect product downstream. Identify how far back the defect could extend, by lot, time and shift, and set aside the packs made since the last known good check. Tag the quarantined product and keep it where it cannot return to the line. What you do with it afterward follows your site’s quality and food-safety procedures, not this guide.
Stopping the machine for the investigation is a decision for the production and quality leads.
2. Collect evidence
Before any adjustment, record the state of the machine, the material and the product:
- Photos of the defect and of the seal area, with a scale or reference in the picture.
- Samples: defective packs, and good packs from before and after, kept in a labeled bag.
- Batch and lot data: product lot, film reel number or film batch, date of manufacture of the film.
- Machine settings as found, and any alarm history.
- Time and shift, operator, and what happened just before (a film change, a stop, a restart, a cleaning).
- Environmental conditions in the area, when relevant, such as nearby open doors or product dust.
Settings as found are easy to lose, so write them down before touching the controls.
3. Test with agreed methods
Choose test methods before you run them, and agree what a pass or fail means with the customer, the film supplier and your own quality team. Each method answers a different question, and none replaces visual inspection of the seal area.
Swipe sideways to see the other columns. The first column stays visible.
| Method | What it is used for | Notes |
|---|---|---|
| Visual inspection | Finding wrinkles, product in the seal, misalignment, burn-through and obvious gaps | Use consistent lighting and magnification, and compare against agreed defect photos |
| Dye penetration | Showing a leak path in a seal by wicking colored liquid | ASTM F1929 is written for porous medical packaging, so it is not a direct fit for other packs; agree on a method for your pack with the people who set your criteria |
| Bubble test (internal pressurization) | Finding gross leaks in a sealed pack placed under liquid while pressurized | ASTM F2096-11(2019) addresses gross leaks. Scope §1.2 states sensitivity was evaluated for spunbonded polyolefin, not for nonporous packaging or other porous materials. For nonporous film packs, the quality team should confirm the chosen method and demonstrated detection capability; this is not a generic sensitivity limit |
| Burst or creep test | Measuring how a whole pack resists internal pressure | ASTM F1140/F1140M-13(2025) covers internal pressurization failure resistance of unrestrained packages (see the exact edition below) |
| Peel (seal strength) test | Measuring the force needed to pull a seal apart | ASTM F88 describes a seal strength test method for flexible barrier materials |
The table lists what each method does, not what result to expect. Agree the method, specimen preparation and acceptance values in writing. The acceptance values come from your product, shelf-life and customer requirements. Citing a standard without agreeing the conditions invites arguments later.
4. List candidate causes by material, machine, product and method
Once the evidence is in, list possible causes under four headings. Rank them by what the evidence supports, not by habit.
Swipe sideways to see the other columns. The first column stays visible.
| Group | Examples to consider | Evidence that points here |
|---|---|---|
| Material | Film batch differences, sealant layer variation, surface contamination, additive migration, reel condition, splice | Defect starts at a new reel or batch; certificates differ; samples from other batches seal normally. See film compatibility |
| Machine | Worn or dirty jaws or sealing surfaces, uneven pressure, heater or sensor drift, mis-set jaw alignment, tension or registration problems, timing | Defect is in the same place on every pack, begins after maintenance or after a stop, or follows one jaw or one lane |
| Product | Dust, grease or liquid in the seal area, product temperature, product bridging or falling late, particle size or shape changes | Defect rate follows a product lot, a fill-rate change or a dosing event; product is visible in the seal |
| Method | Settings changed without a record, changeover not done to procedure, different operators set up differently, inspection frequency or test method inconsistent | Defect starts after a changeover or shift change; sheet records differ from settings as found |
For machine causes, compare the findings with your maintenance records. The guide on building a site-specific preventive maintenance checklist shows how such tasks are recorded. For method causes, a changeover record often shows which settings were changed and who verified them.
Some seal problems start before the sealing jaws. A film that tracks off center, a bag formed with a fold, or a fin wrinkled by the former may first show up as a seal defect. The film path in flow wrapping and form-fill-seal machines has several places where this can start.
5. Change one variable and verify
Pick the cause the evidence supports most strongly, change one variable only, and run a defined number of packs. Test those packs by the agreed method and compare with the evidence. If the defect remains, return that variable to its original value before testing the next one.
Changing two things at once can make the defect disappear without telling you why, or create a new defect that is hard to link to either change. If the cause is on the supplier side, such as a film batch, give the supplier the evidence package you assembled.
If the line has an inline inspection system, such as the vision systems described in machine vision for packaging inspection, its reject records and images can add to the evidence. They do not replace a test of the seal itself.
6. Record and close
Write down what was found, what was changed, who verified it and what was decided about the quarantined product. Update the setup sheet or procedure if the cause was a method problem, and the maintenance plan if the cause was wear. Close the record only after the verification run has been tested and signed off by the person responsible under your procedure.
Evidence record template
Copy this table into your own quality system. The right-hand column says what to write.
Swipe sideways to see the other columns. The first column stays visible.
| Field | What to record |
|---|---|
| Date, time, shift | When the defect was found and by whom |
| Machine and line | Identification, and which jaw, lane or station if known |
| Product and lot | Product code and lot number |
| Film and batch | Film grade, reel number, film batch or certificate reference |
| Defect type | One of the agreed types, with photo reference |
| Defect location | Where on the pack and on the seal; every pack or intermittent |
| Settings as found | Parameters from the machine screen, recorded before any change, with units |
| Events before the defect | Film change, stop, cleaning, changeover, maintenance |
| Containment | Which packs were quarantined, where, and who authorized it |
| Samples taken | Count, labels and storage location |
| Tests performed | Method name, who ran it, date, result for each sample |
| Candidate causes | Material, Machine, Product, Method, with supporting evidence |
| Change made | Single variable, from what to what, and when |
| Verification result | Number of packs run, tests done, result |
| Decision and sign-off | Disposition of quarantined packs, close-out and responsible person |
Assumed example. A line starts to produce a channel leak at one corner of the seal. The record shows it began after a new film reel was loaded, and the settings as found match the setup sheet. Retained samples from the previous reel seal normally under the same test method. The material group becomes the leading candidate, and the evidence package, including the reel numbers and test results, goes to the film supplier. The scenario is invented for illustration and is not measured or market data.
Information to request from suppliers
The film supplier can provide the technical data sheet and batch certificate for the lot in question, the sealing window for the sealant layer, and any known issues for that structure.
The machine supplier can provide the sealing section of the manual, how jaw parameters are verified, the wear parts and signs that they need replacing, and the diagnostic data the machine records.
Your own quality team should supply the agreed test methods, acceptance criteria and sampling plan for seals. When specifying equipment for those checks, use the inspection task-to-equipment guide to distinguish leakage testing from visible closure and weight inspection. An induction foil that never bonded because of gap or torque is the setup question in induction cap sealing, not a leak-test method.
Limits and on-site verification
This checklist structures an investigation. It cannot say why a particular seal failed or give a setting that will fix it, because that depends on the film, the machine, the product and the method in use. The test methods named here show what each test is for. The people who own the specification must agree the method, specimen and acceptance value for your pack and confirm them against the standard’s current edition.
The sealing area has hot jaws, moving parts and stored energy. Guarding should come from a risk assessment under a method such as ISO 12100, and qualified personnel should do any intervention after following the site’s lockout and energy isolation procedure. Do not remove guards or defeat interlocks to take samples or adjust settings.
Method and source review
Public ASTM scopes were reviewed October 8, 2026; they identify method boundaries rather than pack acceptance values. The full standard and a validated site method are needed to perform a test.
- ASTM F2096-11(2019), Scope §§1.1–1.3: gross-leak method and material/sensitivity validation boundary.
- ASTM F1140/F1140M-13(2025), Scope §1.1 and Significance §5.1: internal pressurization failure resistance of unrestrained packages; the link matches the reapproved edition.
- ASTM F1929-23 remains limited here to porous medical packaging; it is not presented as a ready-made method for nonporous film packs. The official source is in References.
References
- ASTM F88/F88M-23 — Standard Test Method for Seal Strength of Flexible Barrier Materials — ASTM International
- ASTM F1929-23 — Standard Test Method for Detecting Seal Leaks in Porous Medical Packaging by Dye Penetration — ASTM International
- ASTM F2096-11(2019) — Standard Test Method for Detecting Gross Leaks in Packaging by Internal Pressurization (Bubble Test) — ASTM International
- ISO 12100:2010 — Safety of machinery — General principles for design — Risk assessment and risk reduction — ISO
Update history
- : First published.
- : Added investigation navigation, clarified bubble-test material limits, linked the exact pressure-test edition, and made defect and process diagrams readable on mobile.
Next steps
Packaging Film Compatibility: Questions Beyond Film Thickness
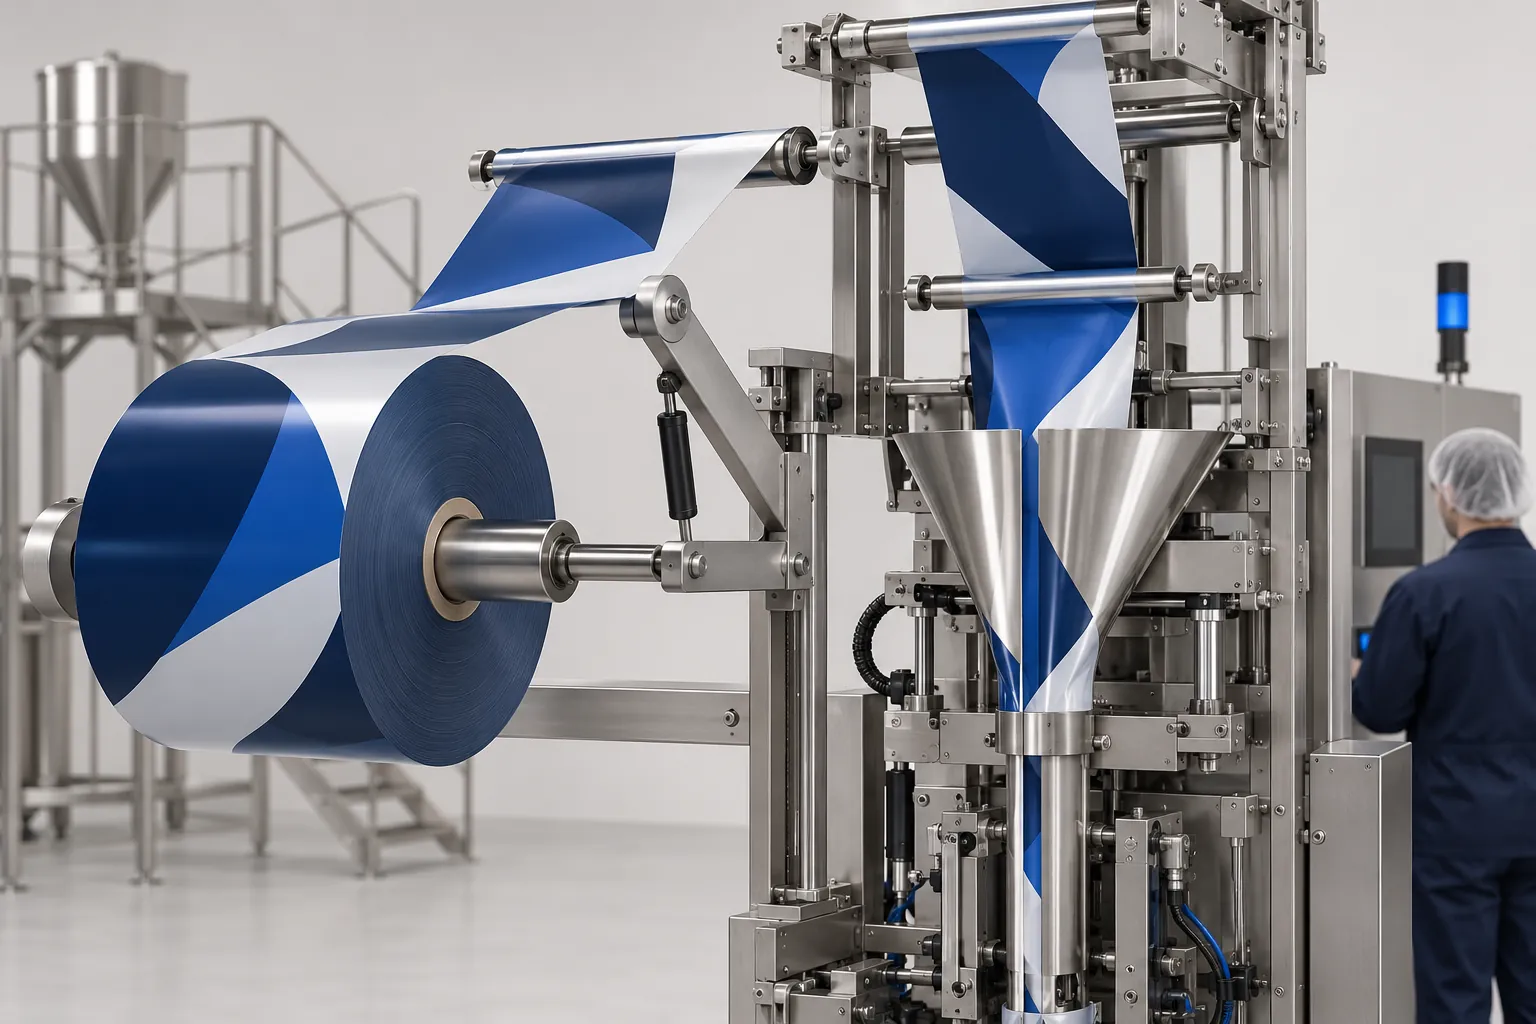
Follow the film path from reel to cut-off and list what to ask the film and machine suppliers about tension, friction, registration marks and sealing.
Read guide
Packaging Format Changeovers: What to Record and Verify
A format changeover checklist: seven steps from preparation to run monitoring, a record template, and the SMED idea of external versus internal work.
Read guide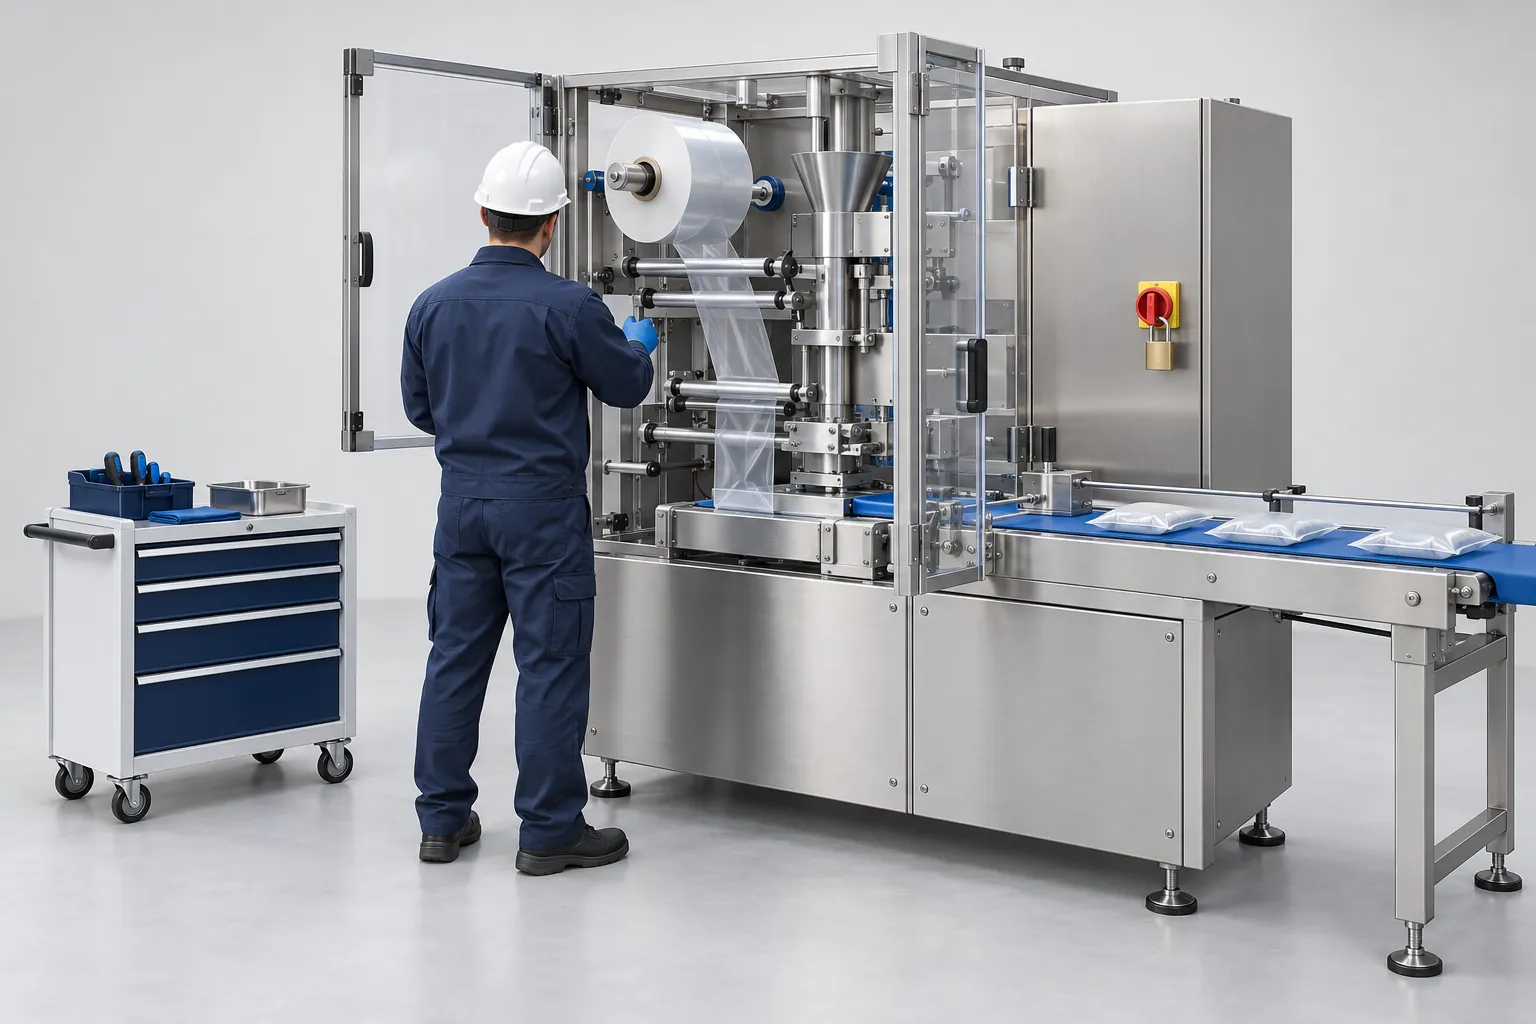
Packaging Machine Preventive Maintenance: Building a Site-Specific Checklist
Build a preventive maintenance checklist for packaging machines from OEM manuals, failure history, risk assessment and critical spares, with a task list.
Read guide